|
|
|
 |

|


Sharp AQUOS LC-52D64U Review
52" 1080p LCD HDTV
Out of the Box
By the time the shippers delivered the box to our door, the package had a definite lean to it. Upon unpacking I soon discovered the cause of the imbalance. The over ten pound stand is detached from the TV and has a tendency to tilt the box. Screwing the non-swivel, 13" deep, stand into the back of the TV frame is definitely a two person operation. Though once affixed, the 63 pound TV is very stable. The piano black bezeled front is accented by a silver grille at the bottom that looks like a wave because the bezel dips in the center below the silver SHARP lettering. 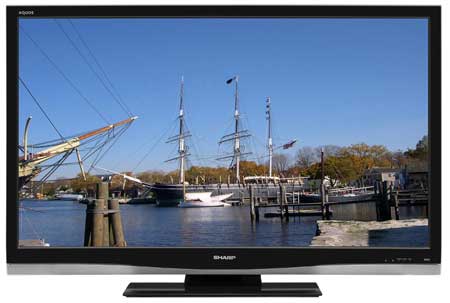 On the upper left is the AQUOS stamp and diagonally in the lower right is a small Dolby Digital logo. To the left of it are three little indicator lights for Power, Sleep and OPC, (which I will discuss later) and two sensors, one for the Remote Control and the other for the OPC. 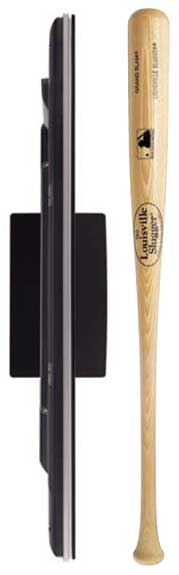
On the right side behind the screen are the Control Buttons and a small convenience connection panel with an HDMI input, a set of Component and Composite Inputs and accompanying Stereo Audio Ins. In addition, a USB port is provided, which is used only for downloading software upgrades. Also on the back, a little farther in towards the center but still facing the right edge is another connection panel. This one supplies an RS-232C Service terminal, an SPDIF (optical) digital Audio Out, two HDMI inputs, (one is linked to a stereo pair of Audio inputs), and one VGA (15 pin D-Sub) Input with a stereo Audio In mini-plug. I have become so desensitized to the ordeal of contorting my body to plug cables into hard to reach connector panels that I almost forgot how enjoyable it is to have inputs that you can see and access easily. Of course, life is not all tea and crumpets. Perhaps as a reminder of darker times, Sharp does include a third panel that is back in the far reaches of the TV, (when we are talking about a 52" set, that is a long arm's length), and facing down. This panel contains an RF connector, one S-Video input (with Audio), two Composite (with Audio), one Component (YPbPr) with matching stereo Audio Ins, and a stereo pair of analog Audio Outs. Even with all these panels populating the back of the TV, this AQUOS retains a fairly svelte 4" depth. The RF connector links to the internal NTSC/ATSC/QAM tuner. The initial channel scanning was not the fastest I've seen, but it's a one-time process. I do like that a Channel Signal Strength display is provided. Since the tuner system is also Clear QAM compatible, you can attach your cable TV signal directly into the RF connector and tune in unscrambled cable stations. 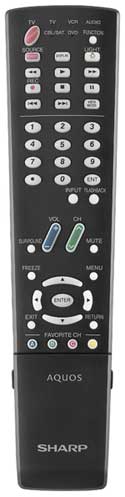
If you ignore its super sized screen and spiffy high definition image, the LC-52D64U could be considered a basic old-fashioned TV. There is no Ethernet port to connect to your home computer network or the Internet. Sadly, the USB port does not read JPEG or MP3 files and no Picture in Picture features are included. And I imagine for most traditional TV viewers, these add-ons will never be missed. The black wedge shaped universal remote fits in my hand comfortably. It can be backlit, assuming you can find the LIGHT button to push. Most of the buttons are laid out sensibly. Though I did have to search for the one that changes the Picture Mode. It's labeled AV Mode and is hidden under the flip-out door at the bottom of the remote. If you plan on changing from the default Dynamic mode, you will need to locate this button. Setup
Our basic setup procedure remains the same. We're using the Oppo DV981HD DVD player and the Digital Video Essentials DVD, (the SD version), to calibrate the monitor. We attached the Oppo's HDMI out to the HDMI input on the Sharp and used test patterns to adjust black level, white level, and color bias. We set the DV981HD to upconvert this standard definition DVD to 1080p, which is the native resolution of the LC-52D64U. The Picture Menu on the AQUOS provides the basic controls: Contrast, Brightness, Color (Saturation), Tint (Hue) and Sharpness. Also, you have Picture Mode presets labeled Dynamic (Fixed), Dynamic, Standard, Movie, Game, PC and User. Dynamic, which closely corresponds to Vivid on other TVs, is the default mode. As usual, I switched to User because I like the flexibility of working with a full range of adjustments. With all the Picture Menus that I can remember, you can change the mode directly in the menu. For some reason on this Sharp you can't. As I noted before, you cycle through the choices with that secluded AV Mode button, which I'll admit is not tragically inconvenient. The first item in the Picture Menu is a feature abbreviated to OPC (Optical Picture Control). The options are Off, On, or On:Display. If you select On, the little OPC sensor on the front of the TV meters the light in the room and adjusts the brightness of the Backlight accordingly. To make my initial adjustments, I turned OPC to Off. The next item is Backlight. The sliding scale goes from -16 to +16. Even though it defaults to +16, I pushed it to the middle point of 0. On the second page of the Menu are Advanced controls including a six-color Hue sub-menu, a six-color Saturation sub-menu, Color Temp, Active Contrast, Fine Motion, I/P Setting, Film Mode, Monochrome (yes, you can make your image black and white), and Range of OPC. Again, to begin, I turn most of these features Off or to a neutral setting. The one I do change is Color Temp. I prefer a slightly cooler look, so I set it to Mid-High, the fourth of five options from Low (Warm, reddish white) to High (Cool, bluish white). 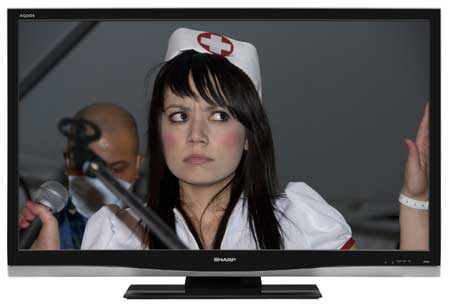 After these initial adjustments, I poked and prodded, tweaked and twisted. In the end, I found myself back at the beginning with very slight changes from the Contrast, Brightness, Color and Tint defaults. As is my wont, Brightness, Color and Tint were notched down a peg or two, but truly very close to factory settings. I experimented with the six-color Hue menu. When looking at a Color Bar test pattern with the naked eye, I could see very little effect of the slider adjustments. Though when I looked through the blue and red filters, I did notice subtle but significant changes. Ultimately, I found that the neutral settings proved best. The biggest choice that you have to make in the Picture Menu is whether to activate OPC or not. Turning it on can make a major change in the brightness of the image, especially in various ambient light situations.You can control the amount of the fluctuations in the menu appropriately labeled Range of OPC . The two sliders provided allow you to set a Maximum and Minimum value. The sliders go from -16 to +16, which mirrors the Backlight control, which makes sense because the Backlight is what OPC adjusts. My tendency would be to turn OPC Off. But if your TV is located in a room with big changes in ambient light, you may want to see how OPC works for you. My suggestion is the same for the other Advanced features, try them, one at a time, and see how you like them. 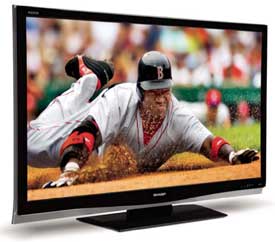
Before I move on, as part of running the TV through its paces, I cycle through a series of solid colored full screen images, which lets me check the uniformity of the display. With the lighter gray screens, I noticed a slight inconsistency in the brightness of the display. A dark horizontal band could be seen. I hesitate to mention it because it is almost never noticeable when watching regular TV. The only time I saw it was during the Masters when the camera panned up to the bright sky to follow the high arc of a golf ball. Since I knew where to look, I occasionally glimpsed that dark band about a third of the way up the screen. Now, I assume that this is an anomaly with this particular TV and would never occur with your AQUOS at home. |
Bookmark:
![]() del.icio.us
del.icio.us
![]() Reddit
Reddit
![]() Google
Google
| Send this Page | Print this Page | Report Errors |
